
Import Postgres Databases in Clever.Cloud
We built a very powerful Keycloak as a service with our partner Clever.cloud. We already support Realms import through JSON files.
Sometimes, people ask us if it is possible to import the whole database in one shot. Of course, Clever.cloud’s flexibility and provisioned instances allow us to do it, and here is how.
Clever.cloud gives us a “base instance” called “Linux Runtime”.
https://www.clever.cloud/developers/doc/applications/linux/
This instance is not entirely empty; a bunch of applications are already installed, and 3 of them are interesting for this use case:
- pg_dump
- pg_restore
- s3cmd
Clever.cloud provides “task applications” :
https://www.clever.cloud/developers/doc/develop/tasks/
This mode only executes the “CC_RUN_COMMAND” environment variable, then simply shuts down the instance. Perfect for our needs!
“Create” -> “Application”
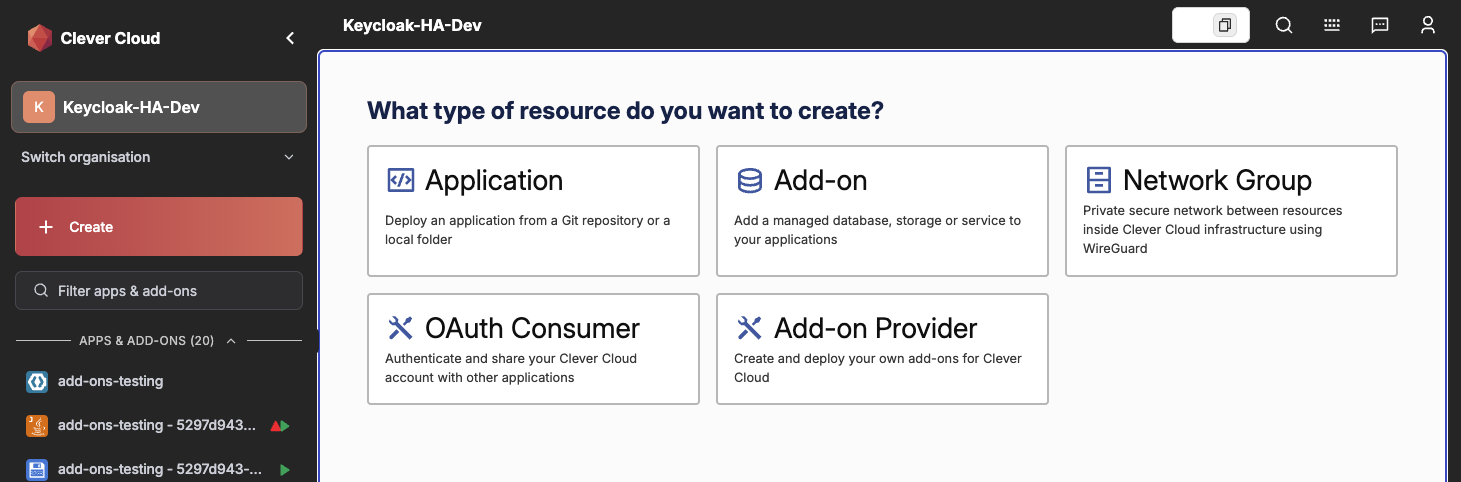
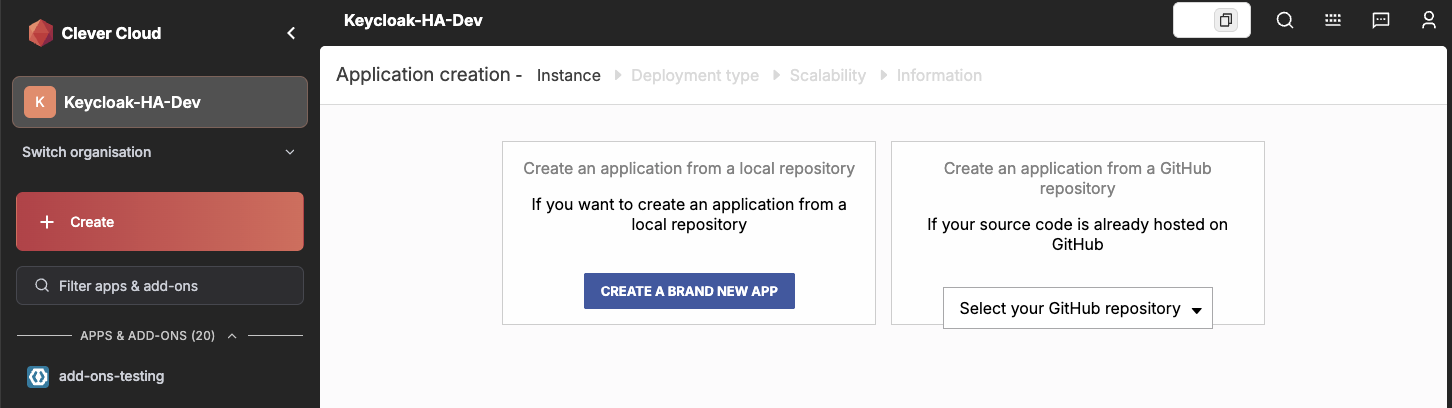
“Create a brand new app”
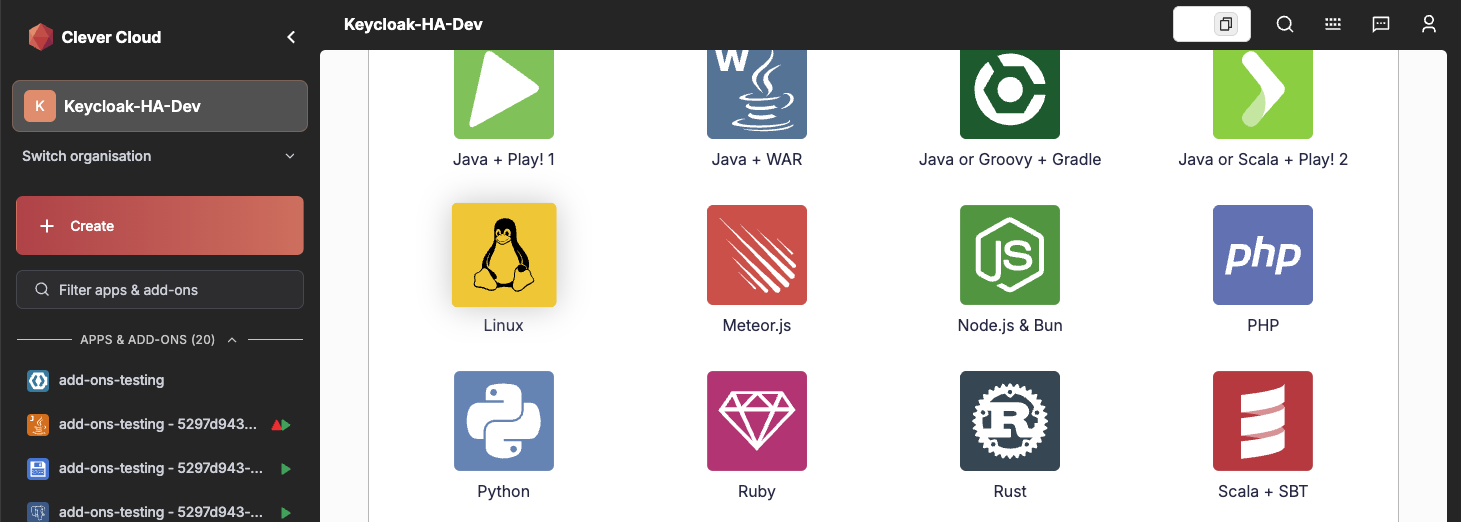
Select “Linux”
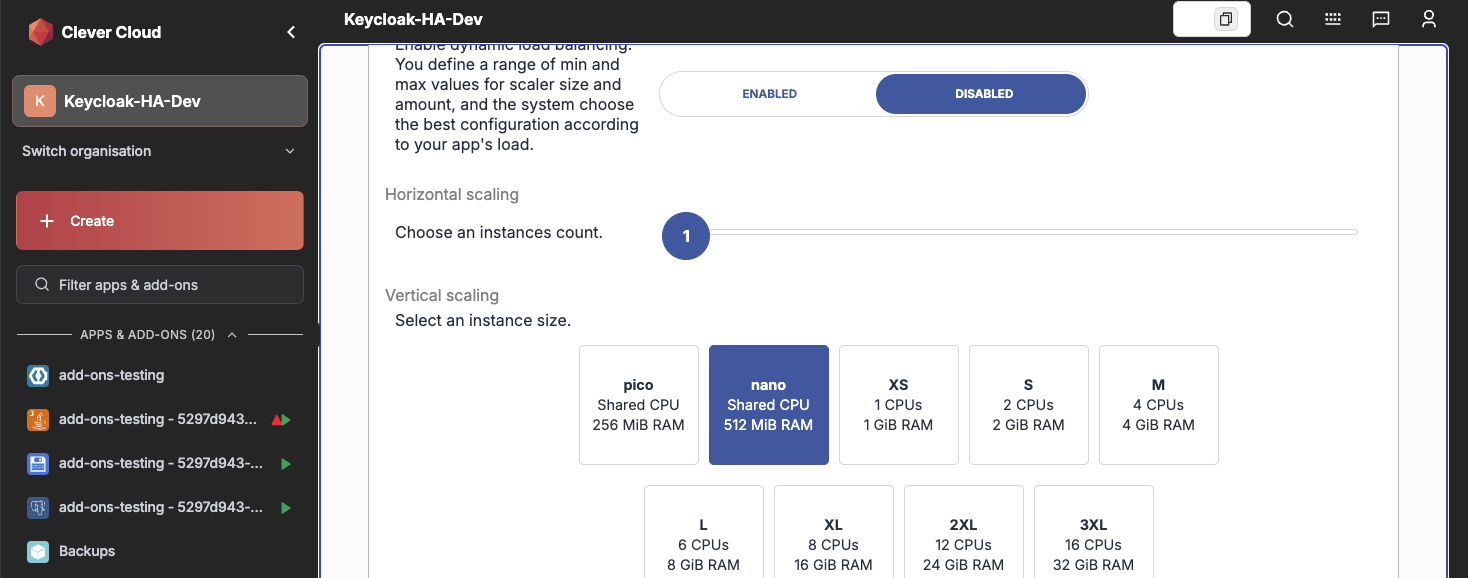
Choose a basic flavour
Name it, and done
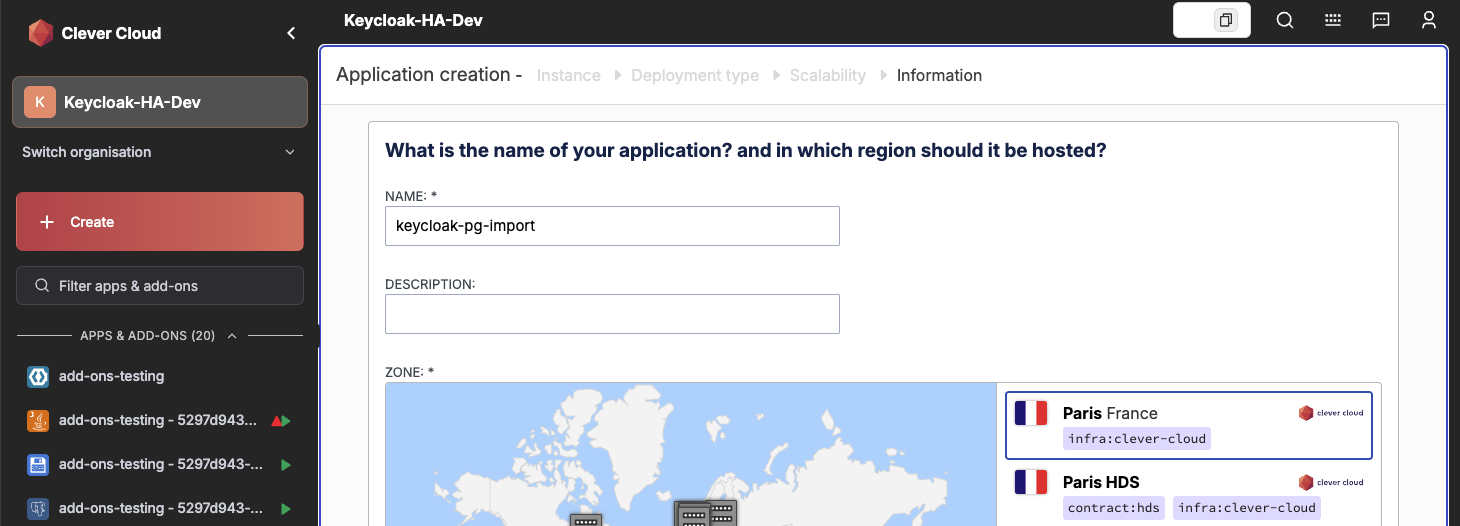
Do not create any addon.
We need to push something on the repo
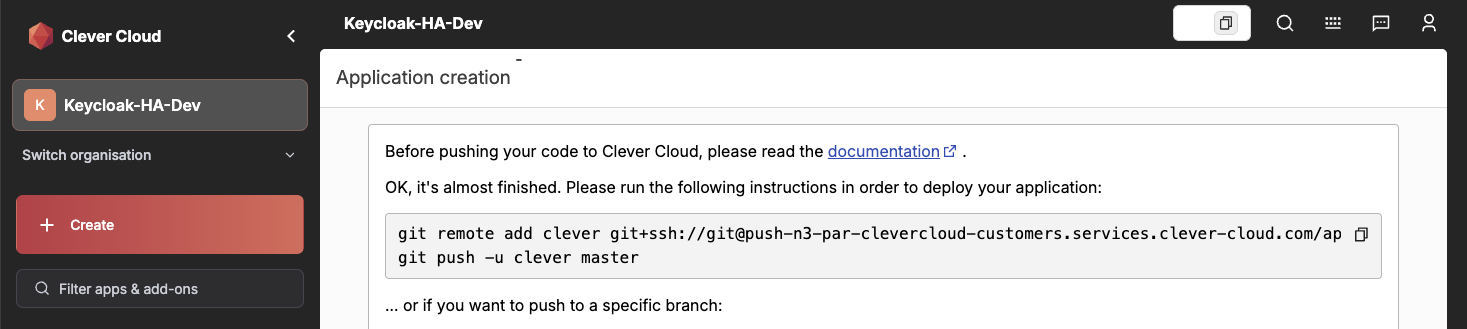
So just do on an empty directory :
git init
git add .
git commit -m "empty commit"
And copy/paste command line from Clever console.
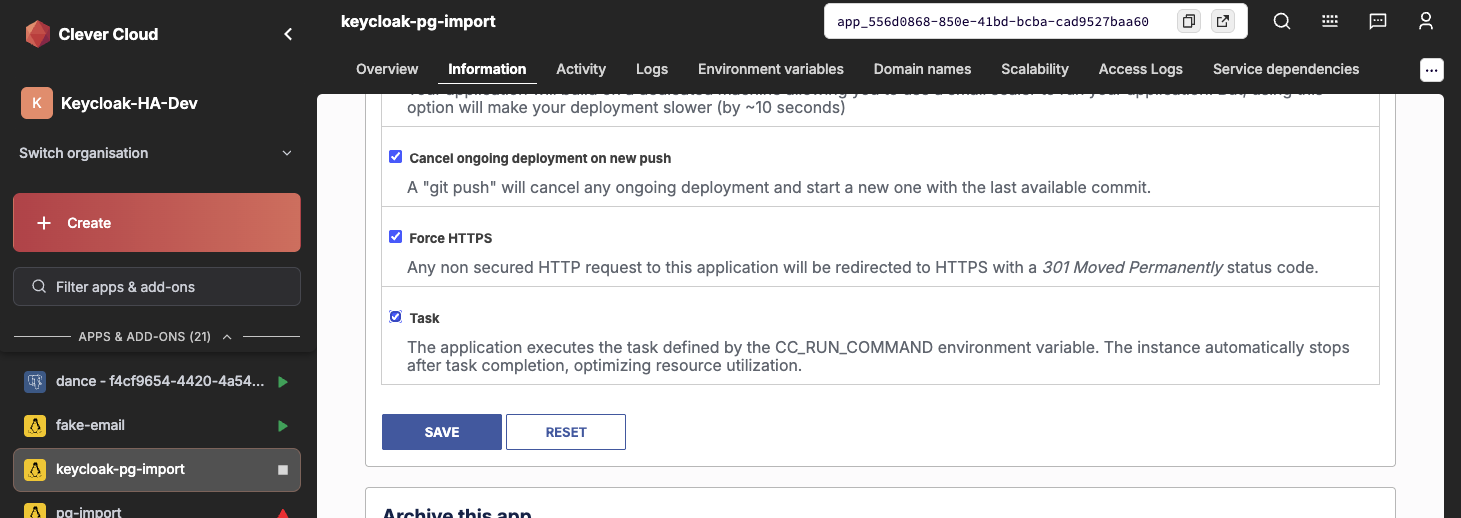
In “informations” tab, check “task”
Go to “service dependencies” and link your Keycloak database.
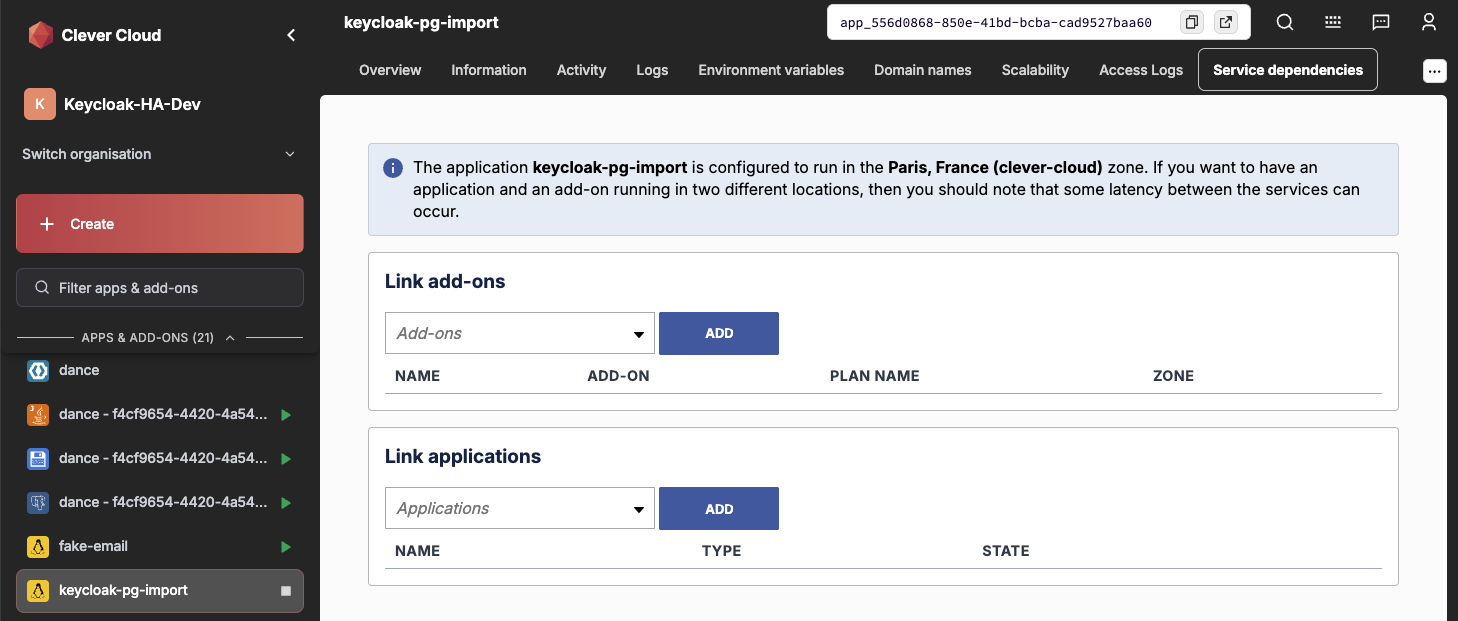
Then, you are ready to import with the methods described below.
clever create --type <type> --task <command> <app-name> --region <zone> --org <org>
The “command” will be set below depending on the mode you choose.
Your database is up and running, and accessible from the Clever.cloud network. We will use “pg_dump” and “pg_restore” in a one-line command:
PGPASSWORD=$SOURCE_PASSWORD pg_dump -h $SOURCE_HOST -p $SOURCE_PORT -U $SOURCE_USER -d $SOURCE_DB -F c -b -T spatial_ref_sys | PGPASSWORD=$POSTGRESQL_ADDON_PASSWORD pg_restore -h $POSTGRESQL_ADDON_HOST -p $POSTGRESQL_ADDON_PORT -U $POSTGRESQL_ADDON_USER -d $POSTGRESQL_ADDON_DB --no-owner --no-privileges --schema=public --clean --if-exists
PGPASSWORD=$SOURCE_PASSWORD pg_dump -h $SOURCE_HOST -p $SOURCE_PORT -U $SOURCE_USER -d $SOURCE_DB -F c -b -T spatial_ref_sys
5 needed variables:
- SOURCE_HOST
- SOURCE_PORT
- SOURCE_USER
- SOURCE_DB
- SOURCE_PASSWORD
We removed tables from the postgis extension in order to prevent error messages during import.
This command outputs a full text dump of the source database.
PGPASSWORD=$POSTGRESQL_ADDON_PASSWORD pg_restore -h $POSTGRESQL_ADDON_HOST -p $POSTGRESQL_ADDON_PORT -U $POSTGRESQL_ADDON_USER -d $POSTGRESQL_ADDON_DB --no-owner --no-privileges --schema=public --clean --if-exists
All needed environment variables are already set by “addon linking”.
--clean --if-exists
are optional, depending on whether you want to erase existing data or not.
Thanks to our friend Fred Alix, who wrote an entire blog post about NetworkGroups.
https://blog.fredalix.com/p/how-to-use-clever-clouds-network-groups/
You can connect any server to a private network on Clever.cloud with Wireguard.
Go to “Create” then “Addon” and “Cellar S3 Storage”.
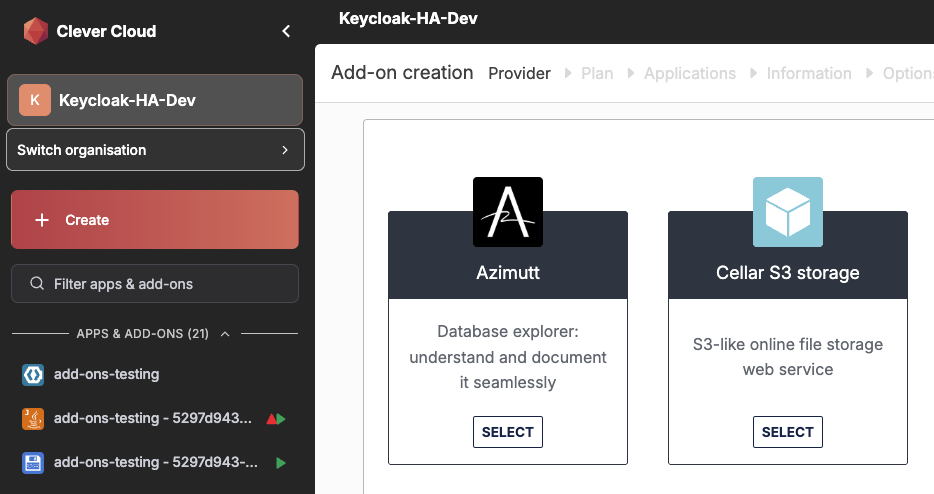
Link your Cellar to your Linux App in order to get provisioned variables:
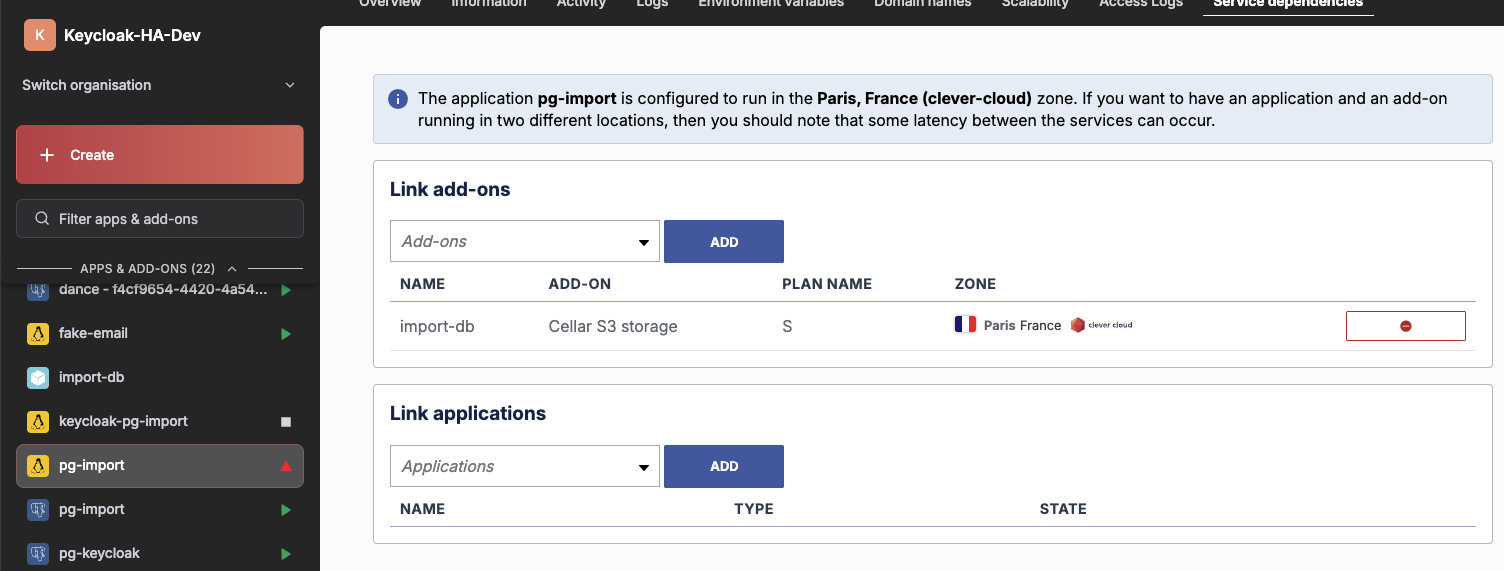
Put the exported file into a new bucket. Then, you need to define 2 variables, ie:
CELLAR_BUCKET="import-keycloak-bpce"
CELLAR_DUMP_FILENAME="postgresql_09eea8ae-9417-44a5-8eb0-87bafcd7df37-20260709032454.dump"
Use this run command:
CC_RUN_COMMAND="(s3cmd --access_key=${CELLAR_ADDON_KEY_ID} --secret_key=${CELLAR_ADDON_KEY_SECRET} --host=${CELLAR_ADDON_HOST} --host-bucket=${CELLAR_ADDON_HOST} --no-check-certificate get s3://${CELLAR_BUCKET}/${CELLAR_DUMP_FILENAME} - | PGPASSWORD=$POSTGRESQL_ADDON_PASSWORD pg_restore -h $POSTGRESQL_ADDON_HOST -p $POSTGRESQL_ADDON_PORT -U $POSTGRESQL_ADDON_USER -d $POSTGRESQL_ADDON_DB --no-owner --no-privileges --clean --if-exists -v) || true"
This method, based on a Linux instance, demonstrates all the power of the Clever.cloud platform:
- environment variables
- from the console or command line for great automations
- Linux instances with all needed stuff inside, such as Postgres Tools
- task mode
We made this available especially for Keycloak imports, directly from a database instead of using export/import, which can be painful.
Feel free to use it for other applications!
Looking for more Keycloak extensions? Check out our other open-source projects on github.com/please-openit